Hi everyone,
here is everything you need to get the robot ready to work. If any questions come up, just message me on our WhatsApp chat.
This guide looks long, but after reading it once it should be pretty clear what to do. None of this is anything special — it's similar for any robot of this type, and this model isn't especially demanding in that respect.
1. Introduction
I placed the robot where you can see it in the photo (01). Despite a lot of thinking, I couldn't find a better spot. Putting it here (02) did mean rearranging a few things though: the massage table is now closer to the wall, Katharina's mat is on the other side of the wardrobe, and the cleaning supplies have moved slightly. If this arrangement doesn't work for someone, just say so in the chat — maybe we can find a better solution.
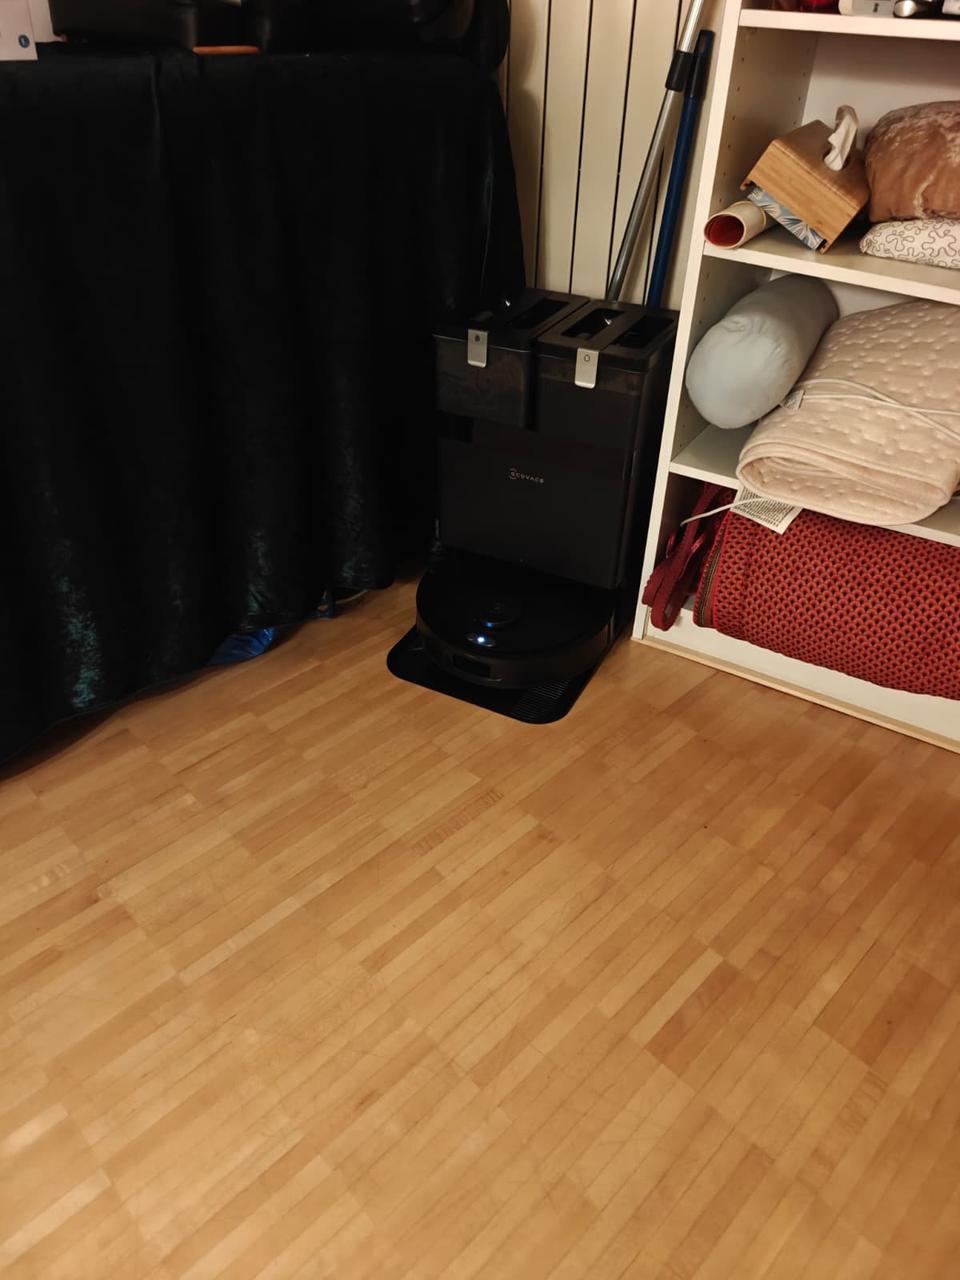
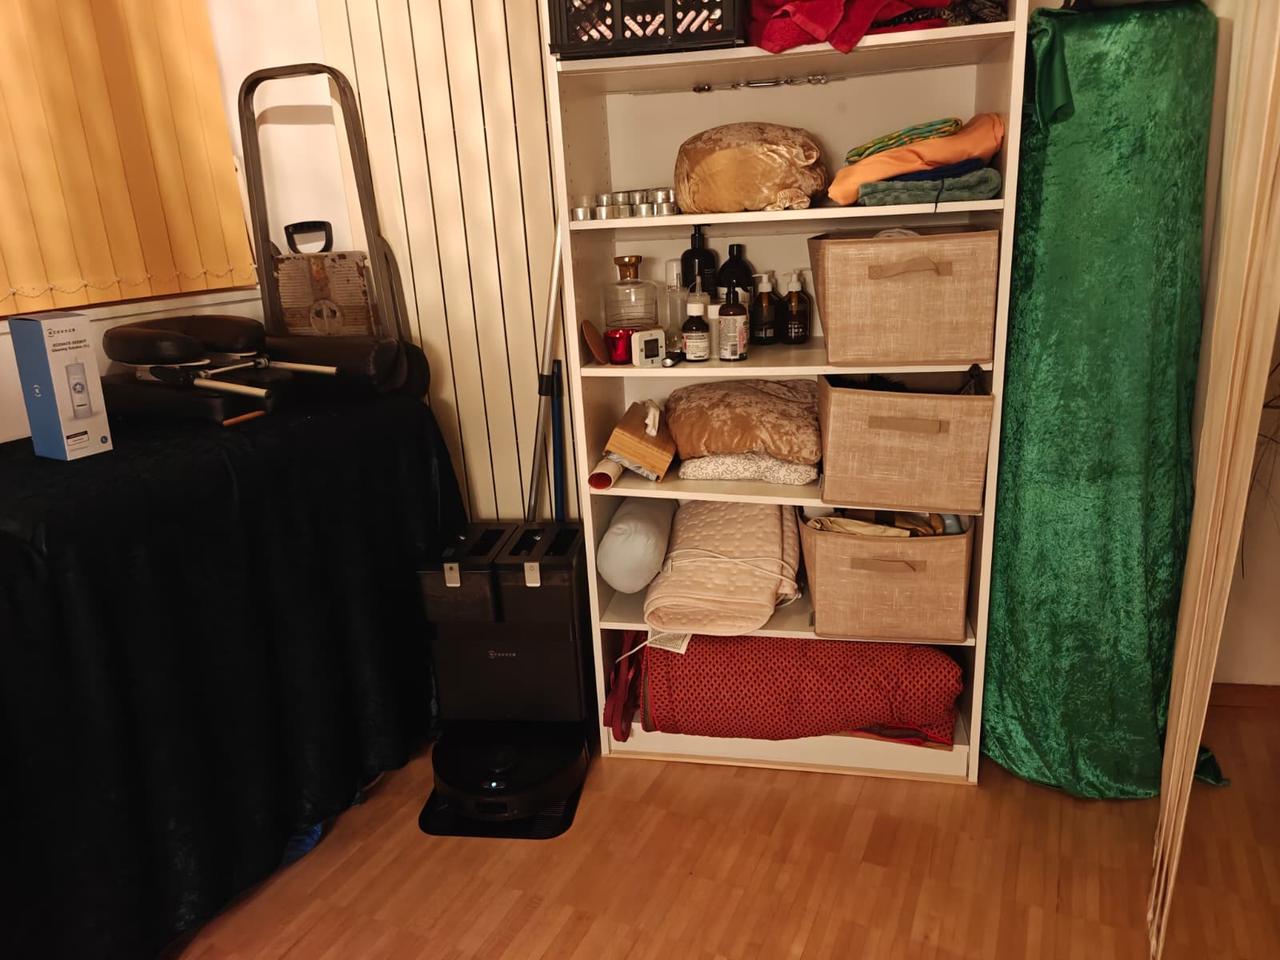
2. Preparing the rooms
The robot is set up to clean the massage room, the kitchen annex, and the bathroom. For everything to run smoothly, it needs a mostly clear floor, and a few things need to be arranged a bit differently than usual.
Massage room & kitchen annex
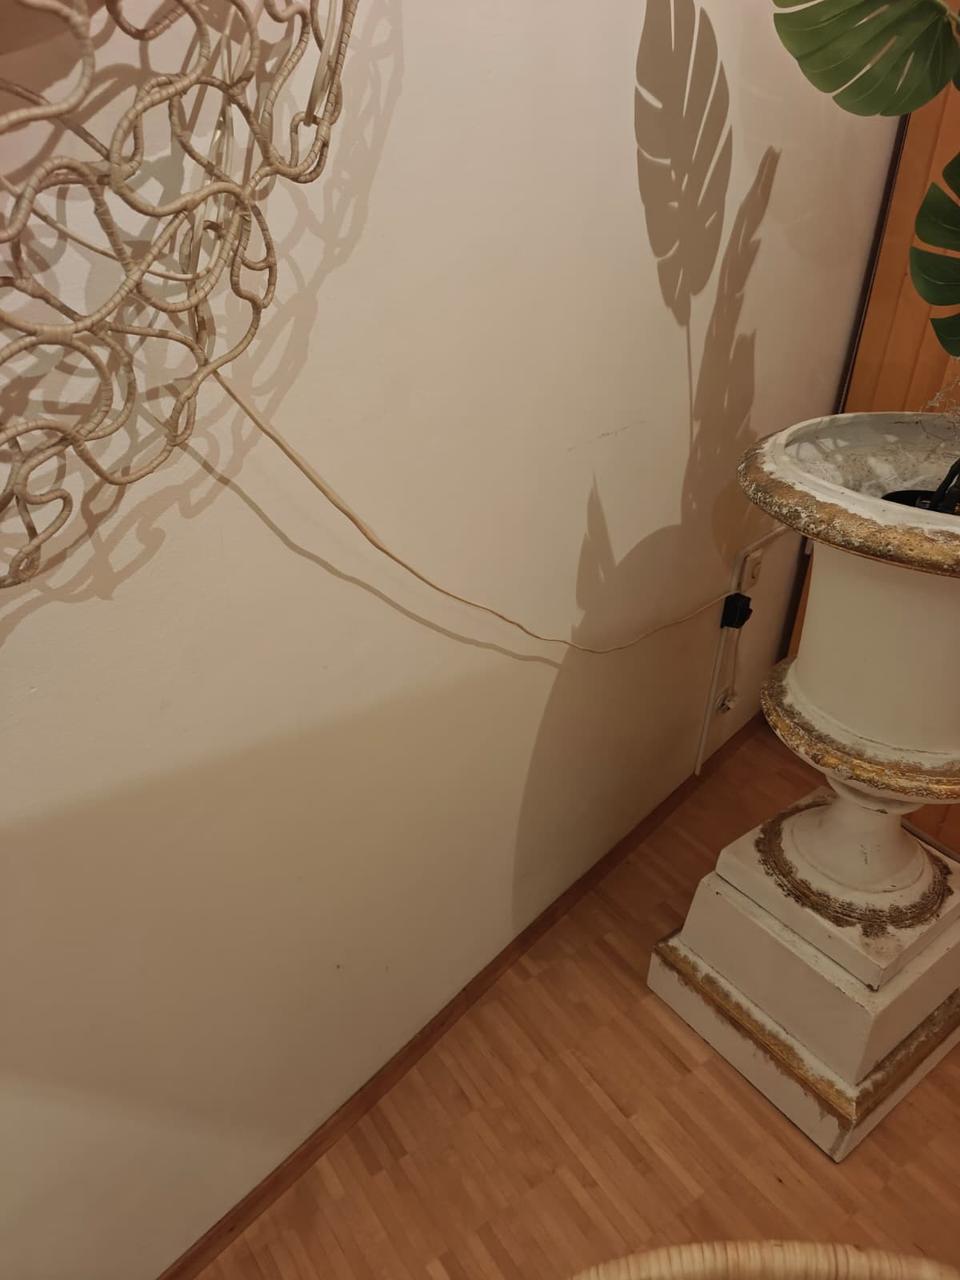
No cables should be left on the floor.
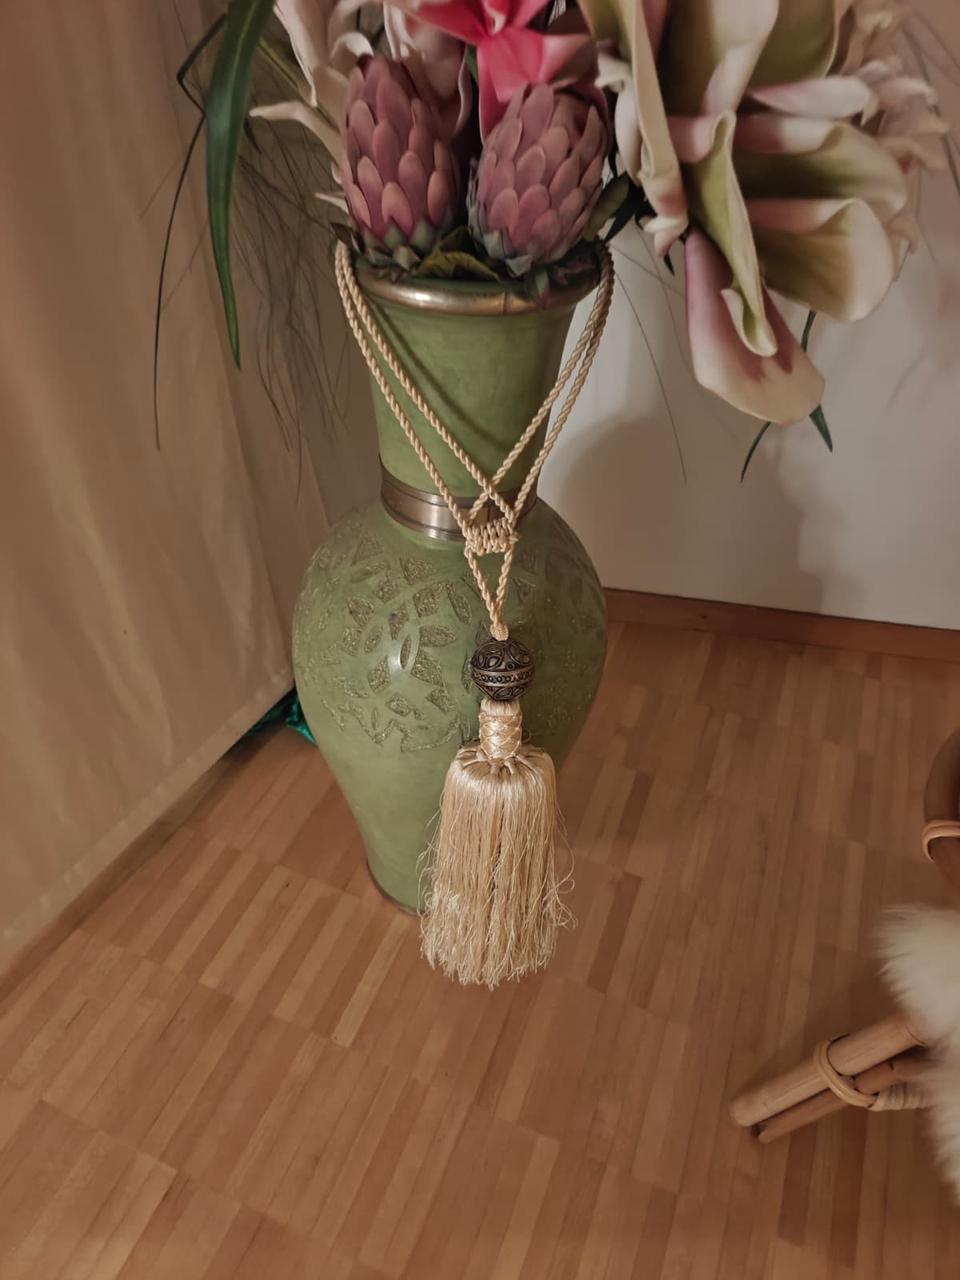
This decorative piece should hang as shown in the photo — if it hangs lower, the tassels get caught in the robot's mechanism.
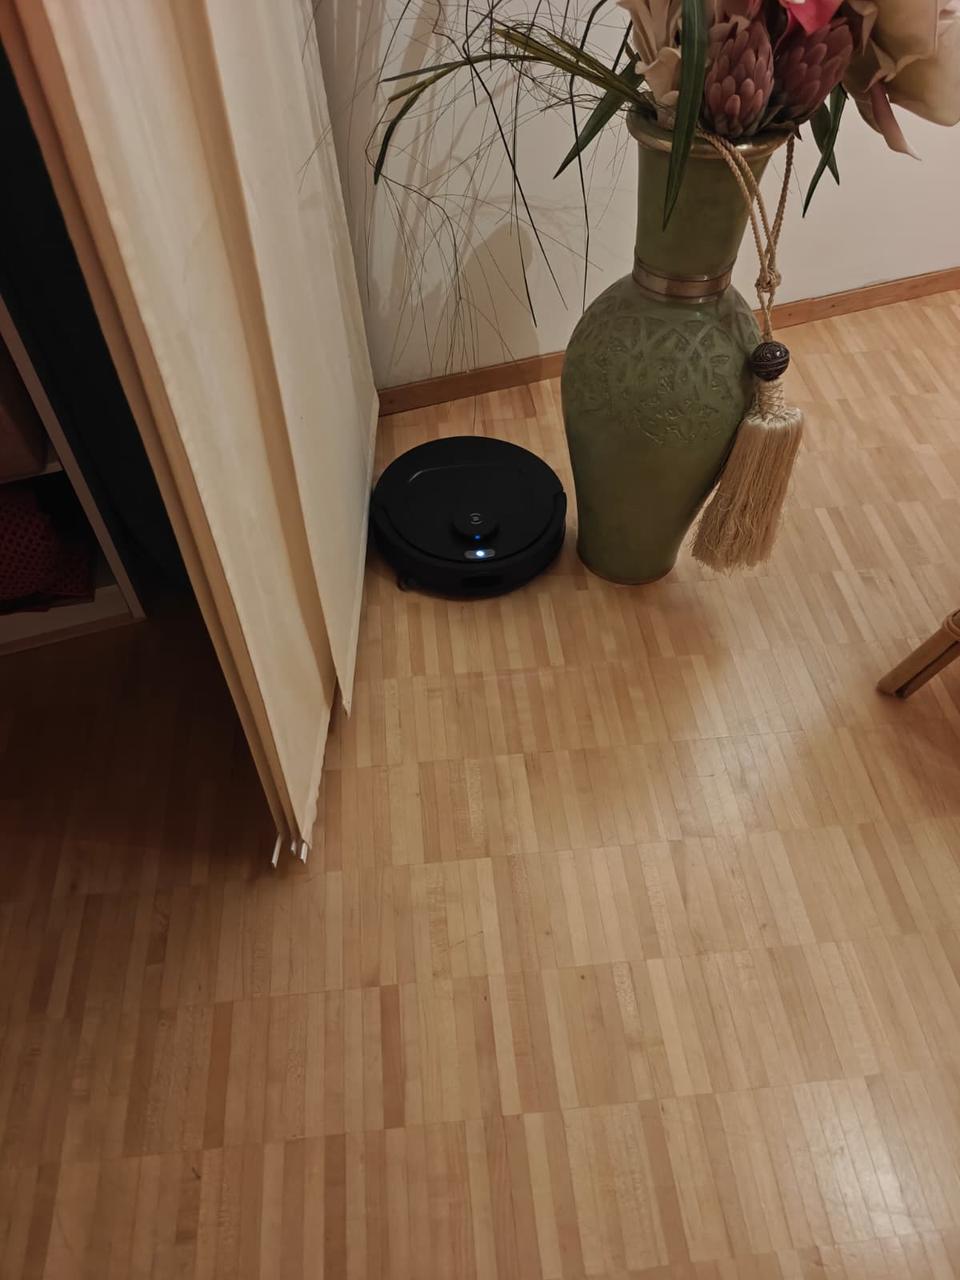
Best to place the vase as shown here, with enough of a gap to the curtains that the robot can drive through.
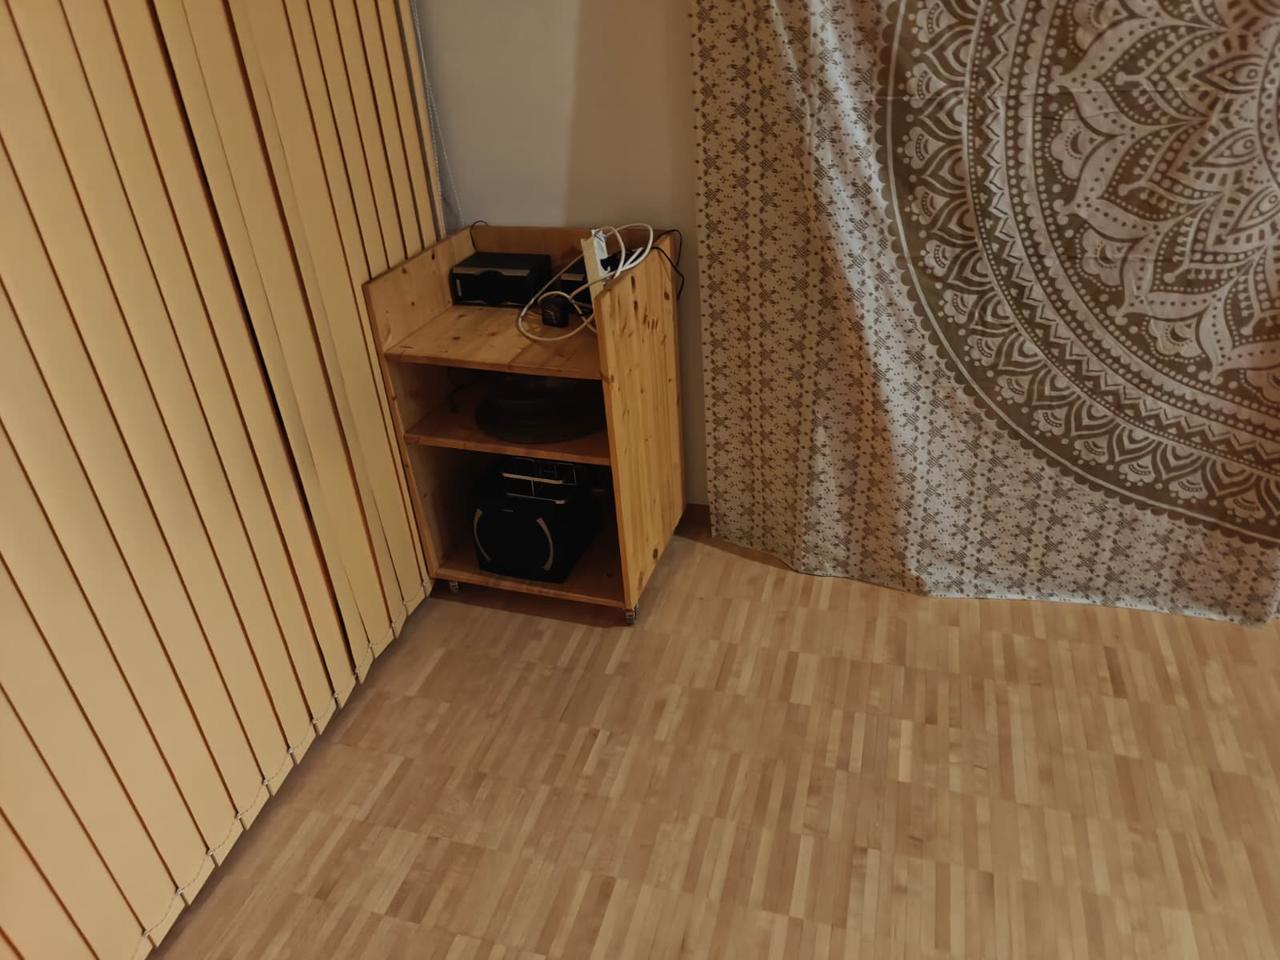
Best to put the audio set in this spot, to give the robot as much space as possible to clean.
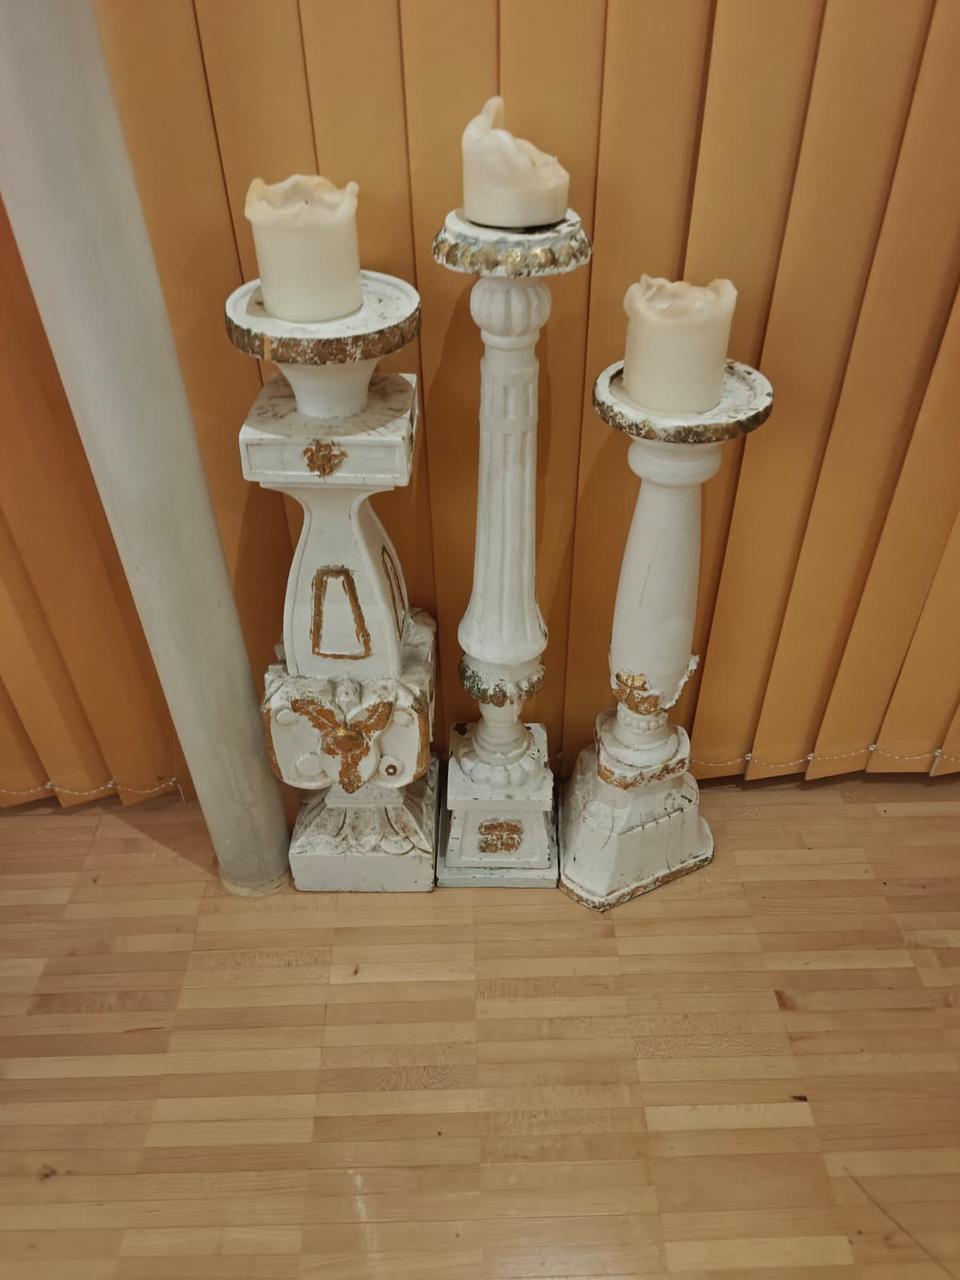
In their usual spot the candle holders force the robot to drive around a lot of space, so it's best to arrange them like this. For a session afterwards, feel free to put them back wherever you like.
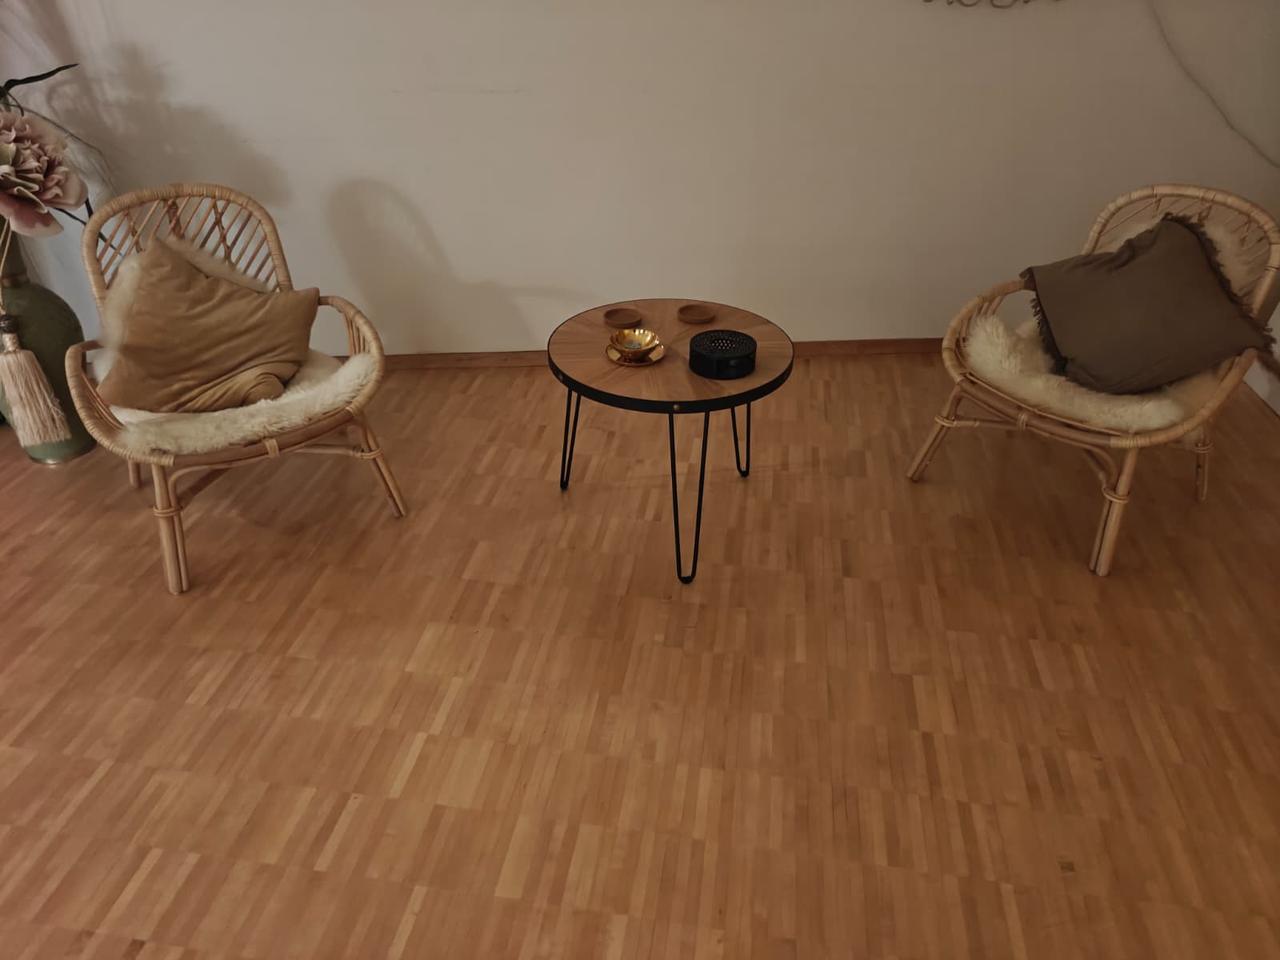
It helps to leave some space between the armchairs and the table, so the robot can drive between them.
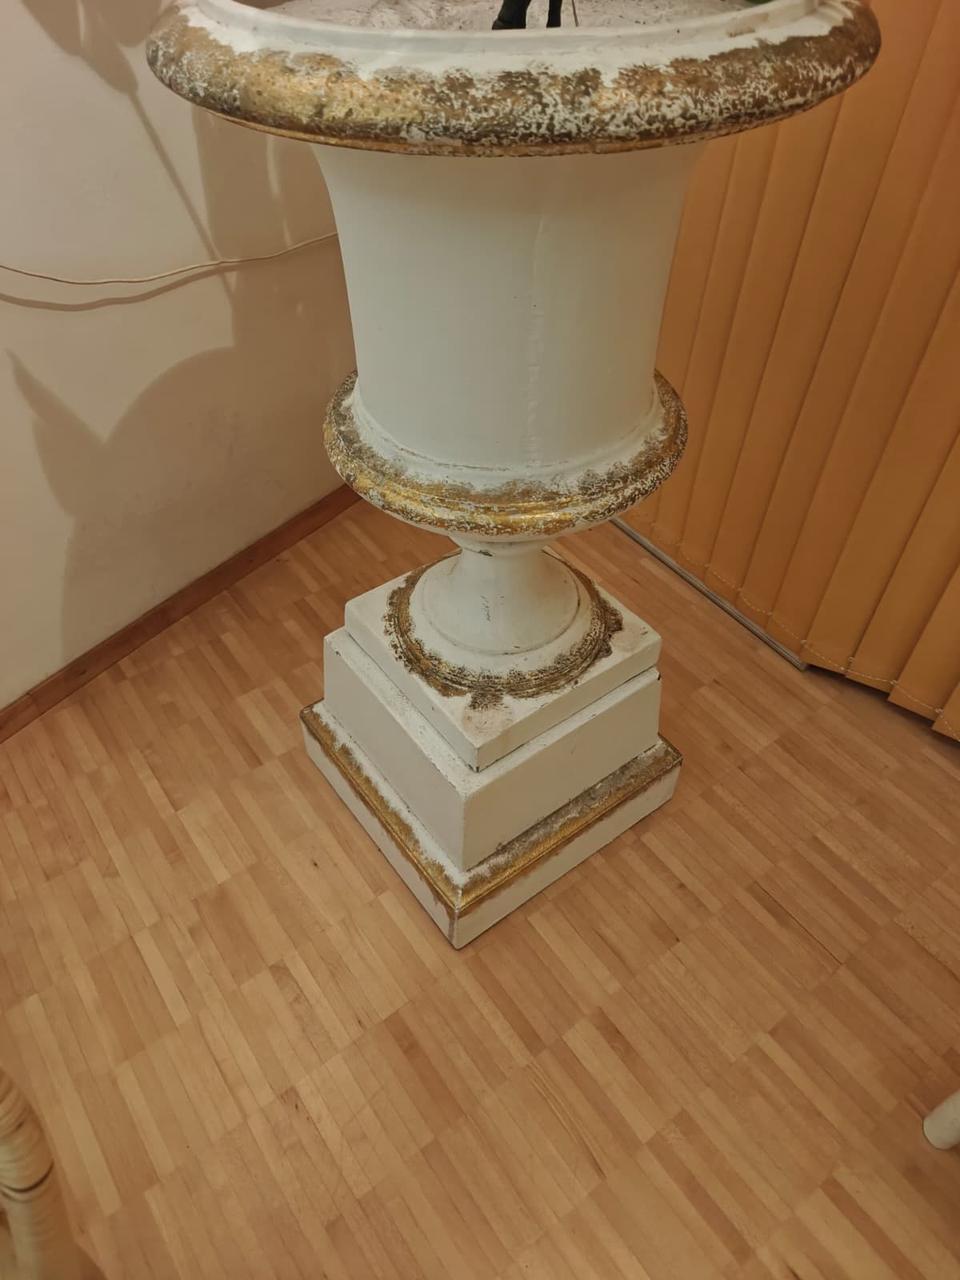
I pulled this large planter slightly away from the wall so the robot can get around it — it would be great if it stayed like this.
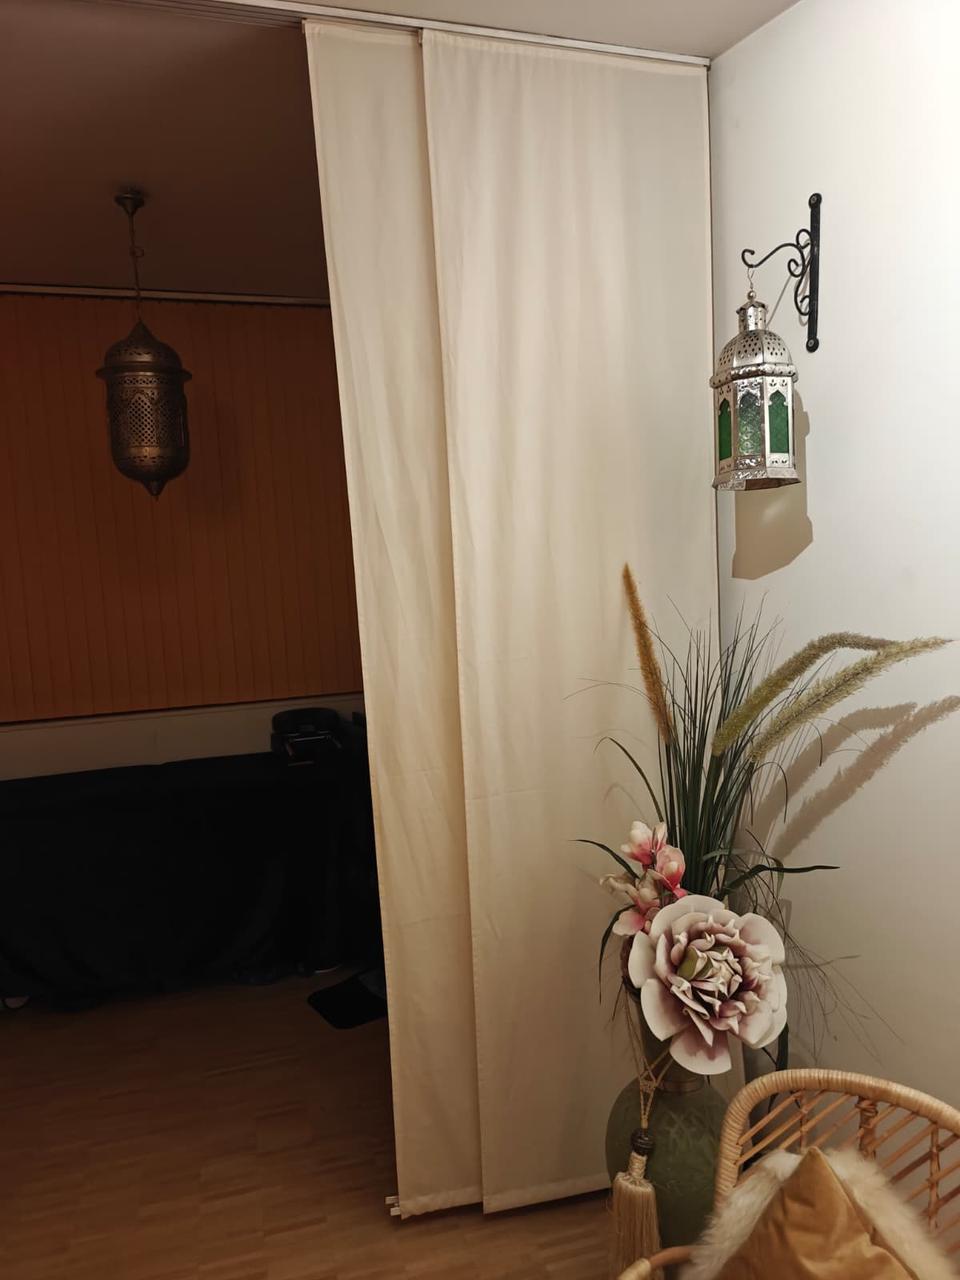
Best to slide the curtains together as shown in the photo.
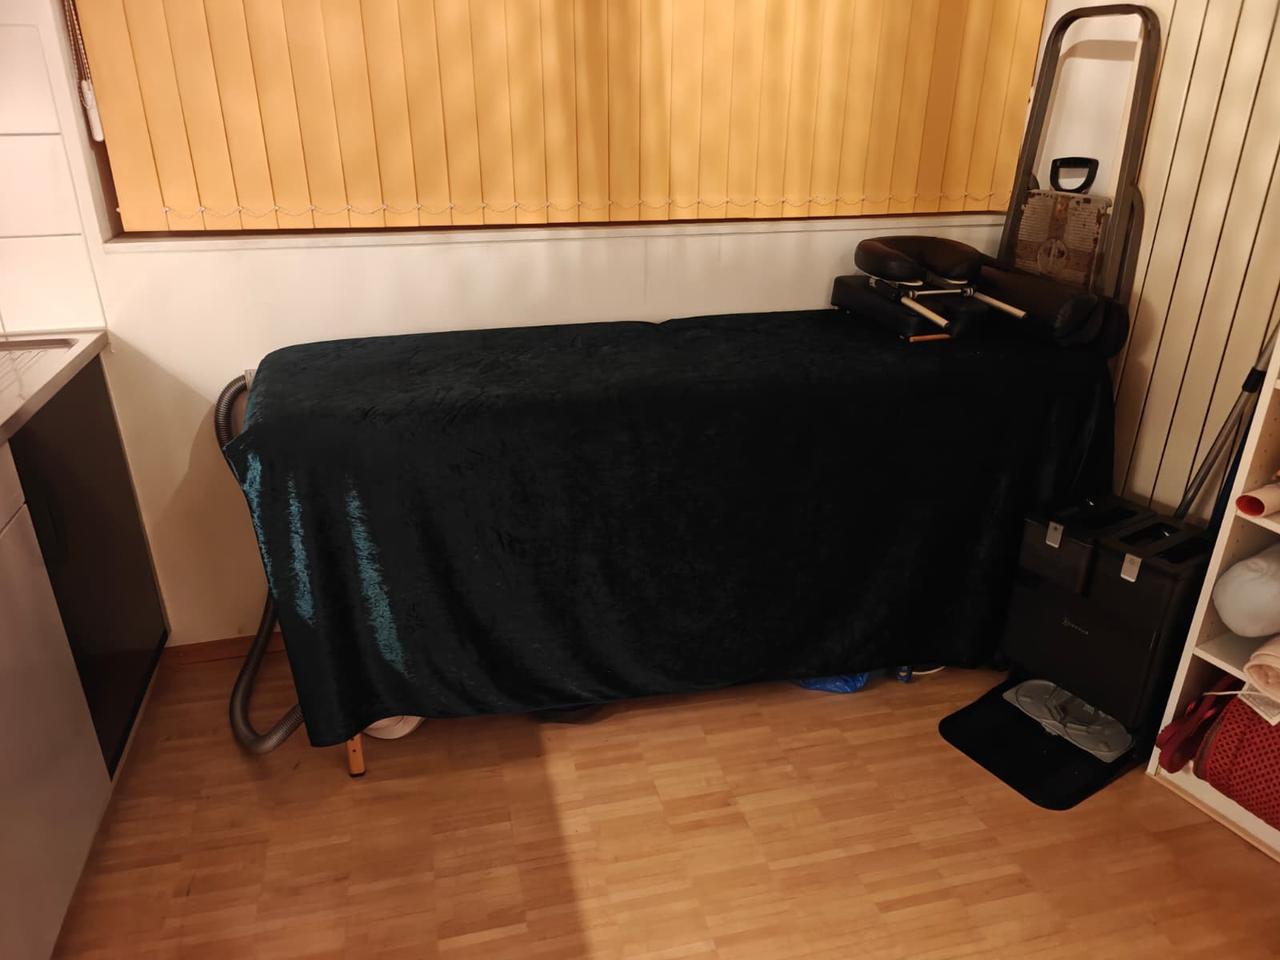
Important: the massage table cover shouldn't reach down to the floor — it should sit the way it does in the photo.
Bathroom
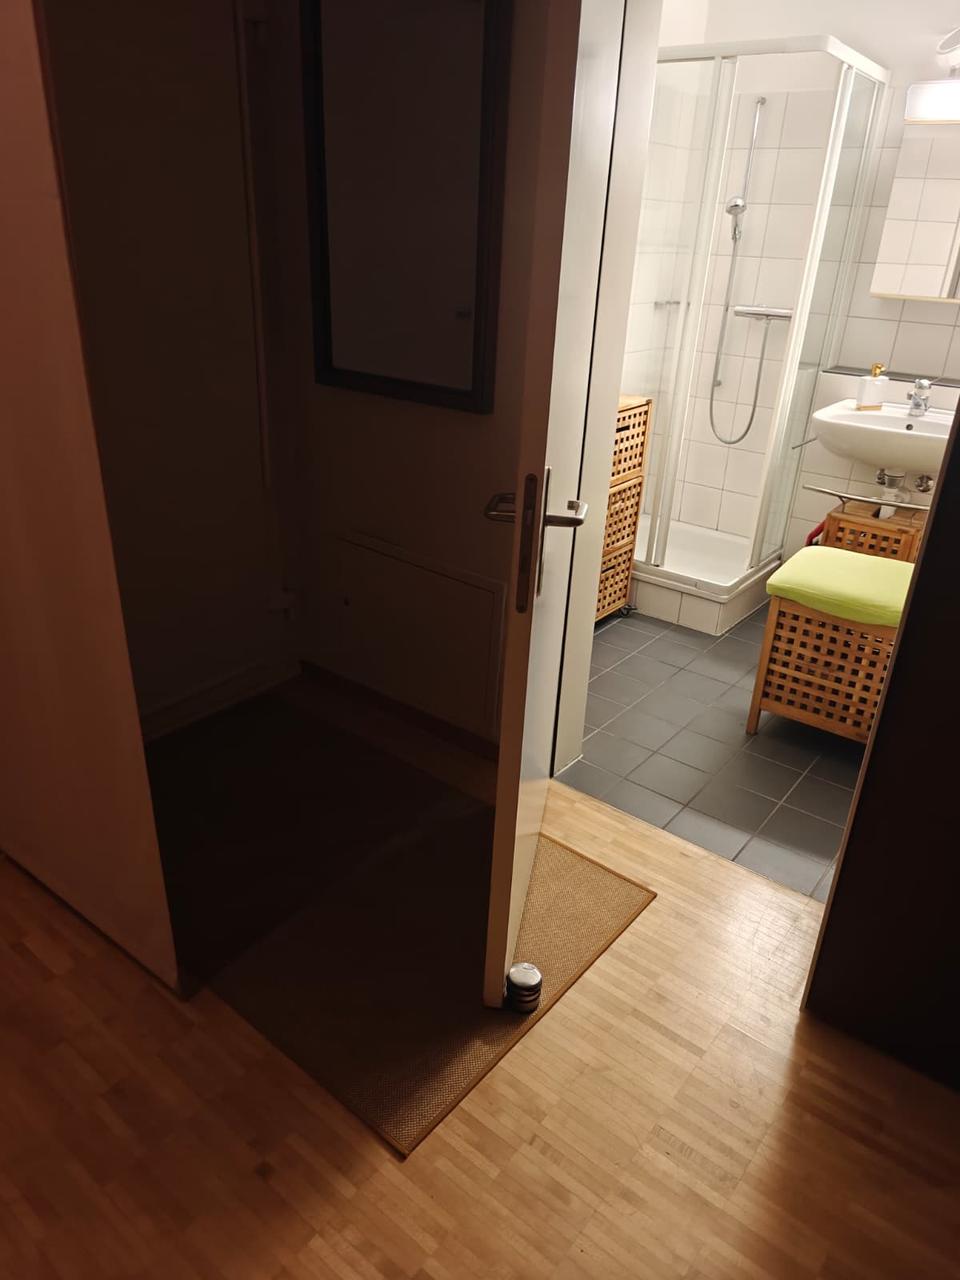
The bathroom door closes on its own, so it's best to use the door stopper and leave it open like this. Once the robot has finished cleaning the bathroom (it does that first), you can close the door again.
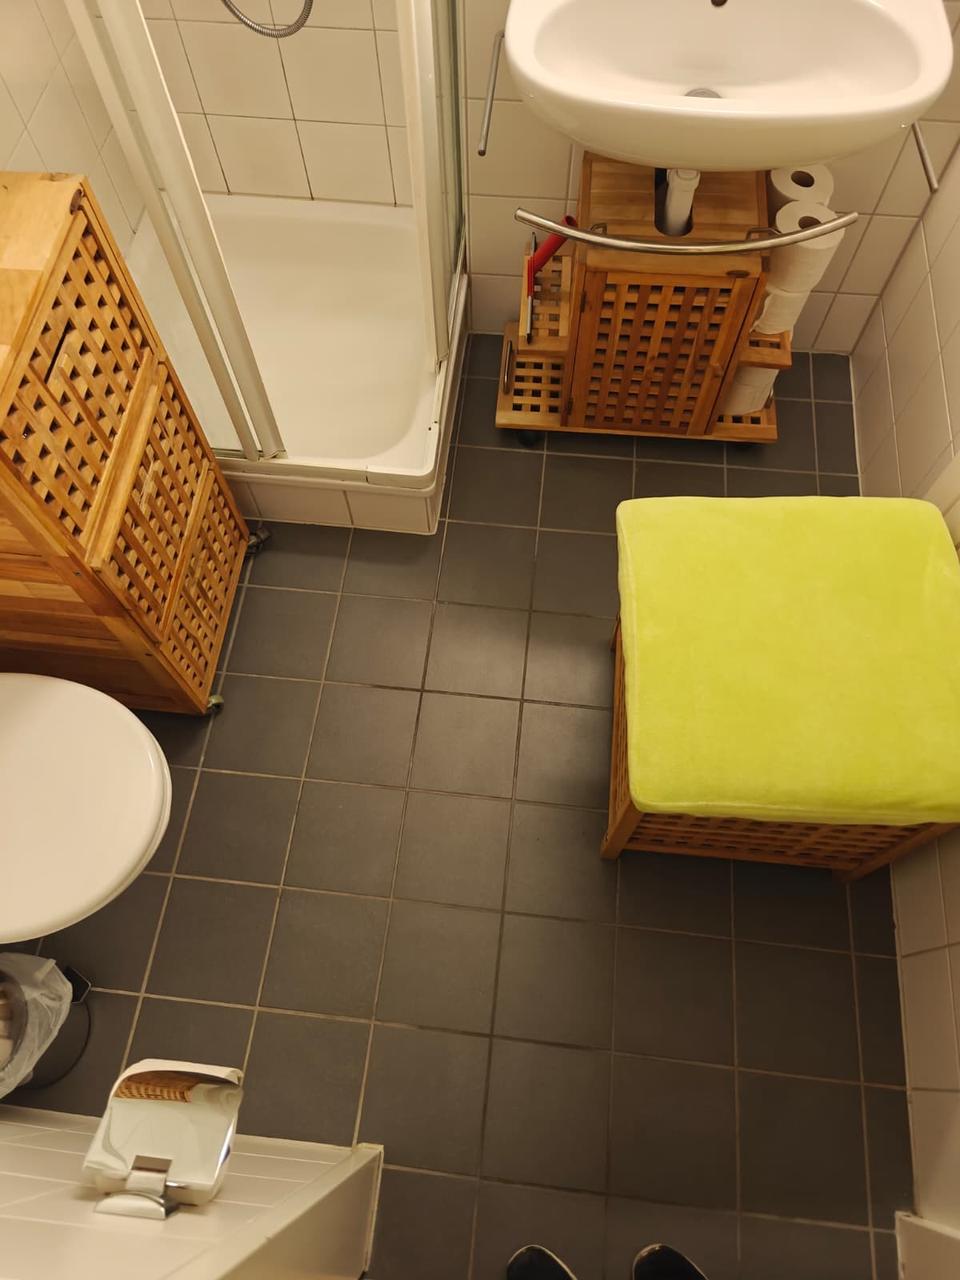
Nothing should be left on the floor.
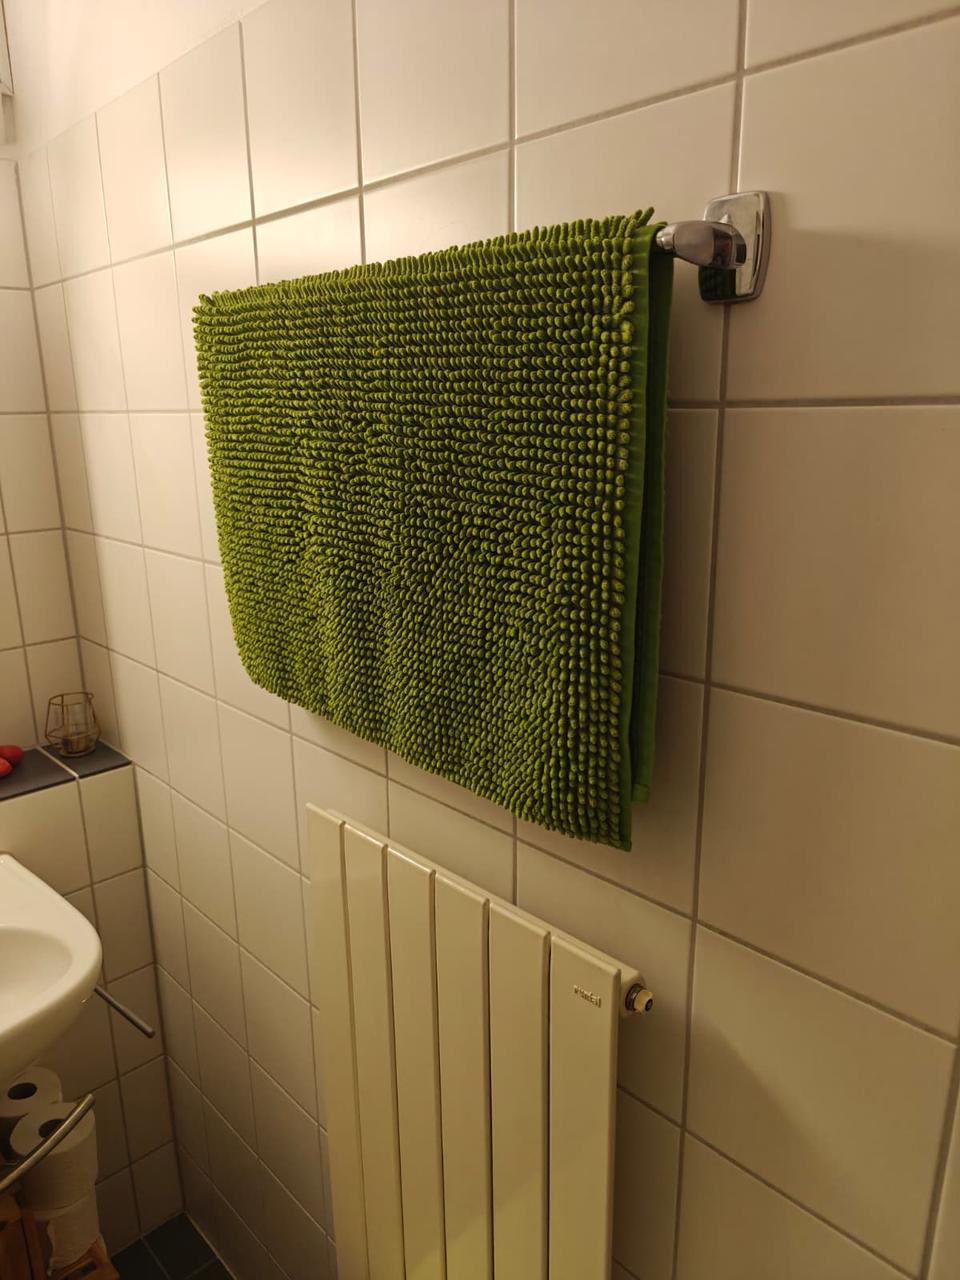
So just hang the mat up instead of leaving it on the floor.
3. Preparing the robot
The robot cleans both dry and wet — except for the bathroom mat, which is only vacuumed, never mopped.
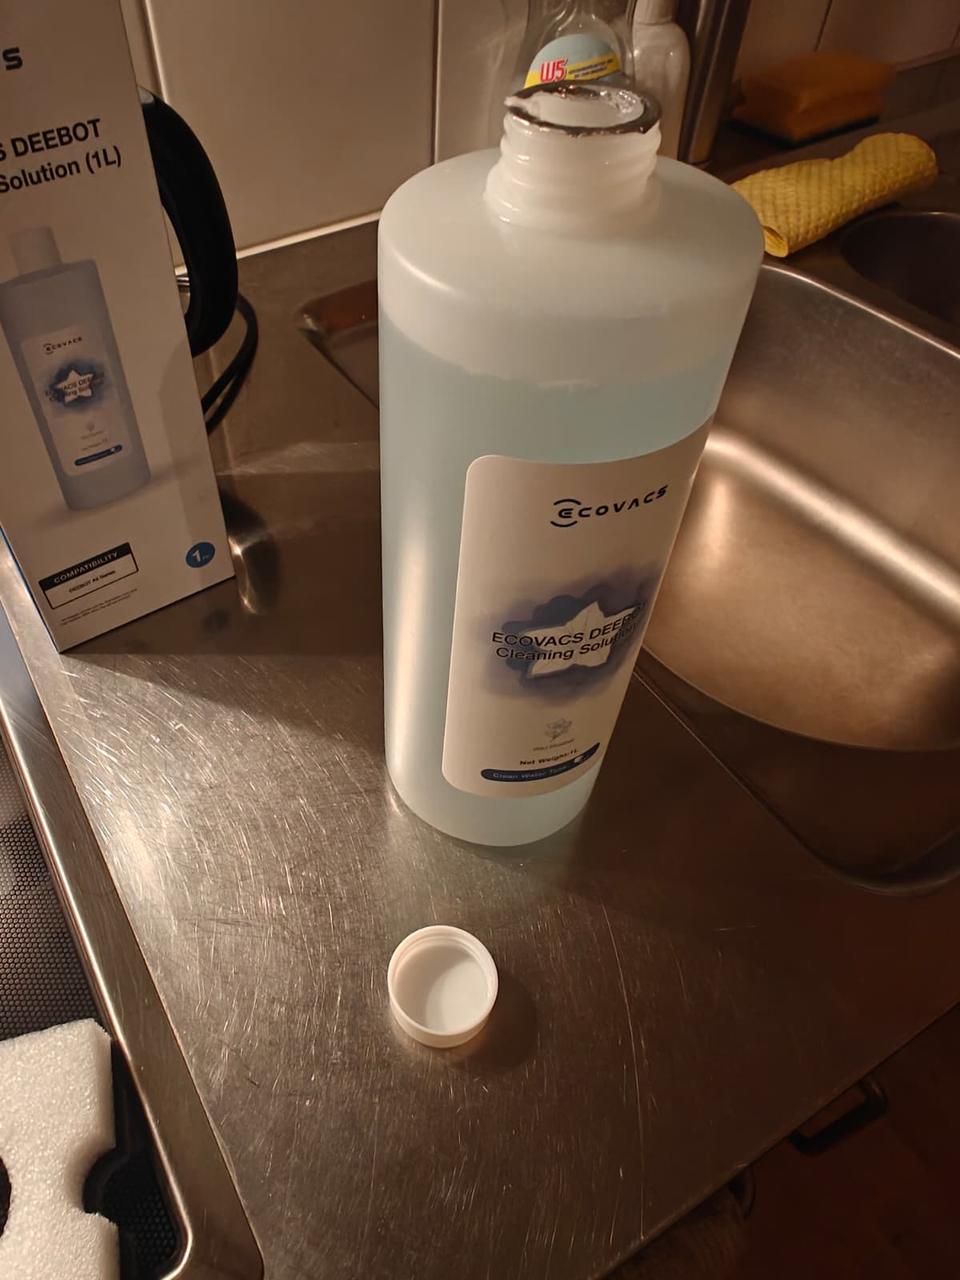
For it to be able to mop, it needs water mixed with this special cleaning fluid.
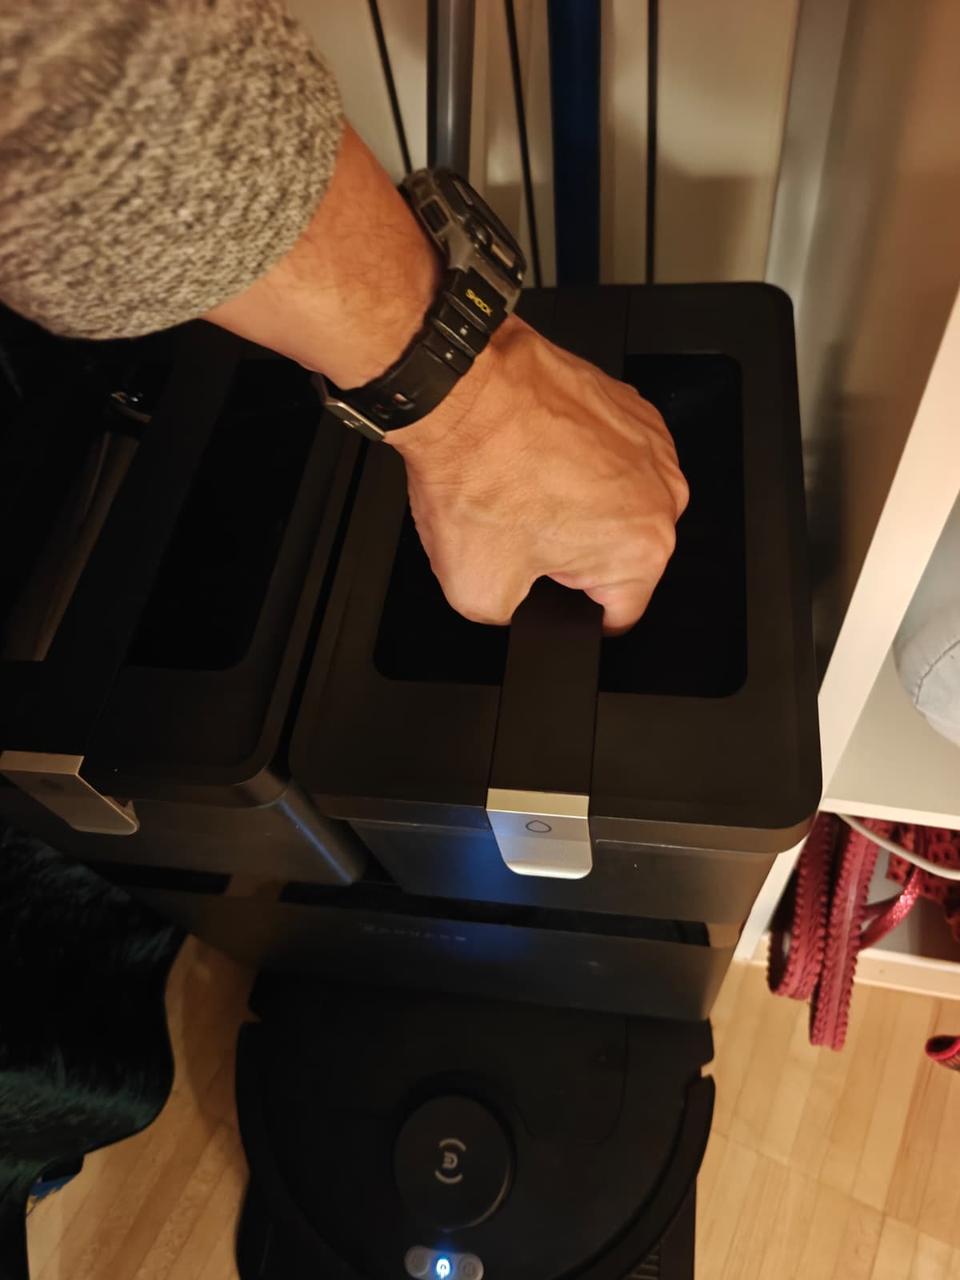
Take the container on the right, pour in TWO capfuls of fluid, and top it up with room-temperature water.
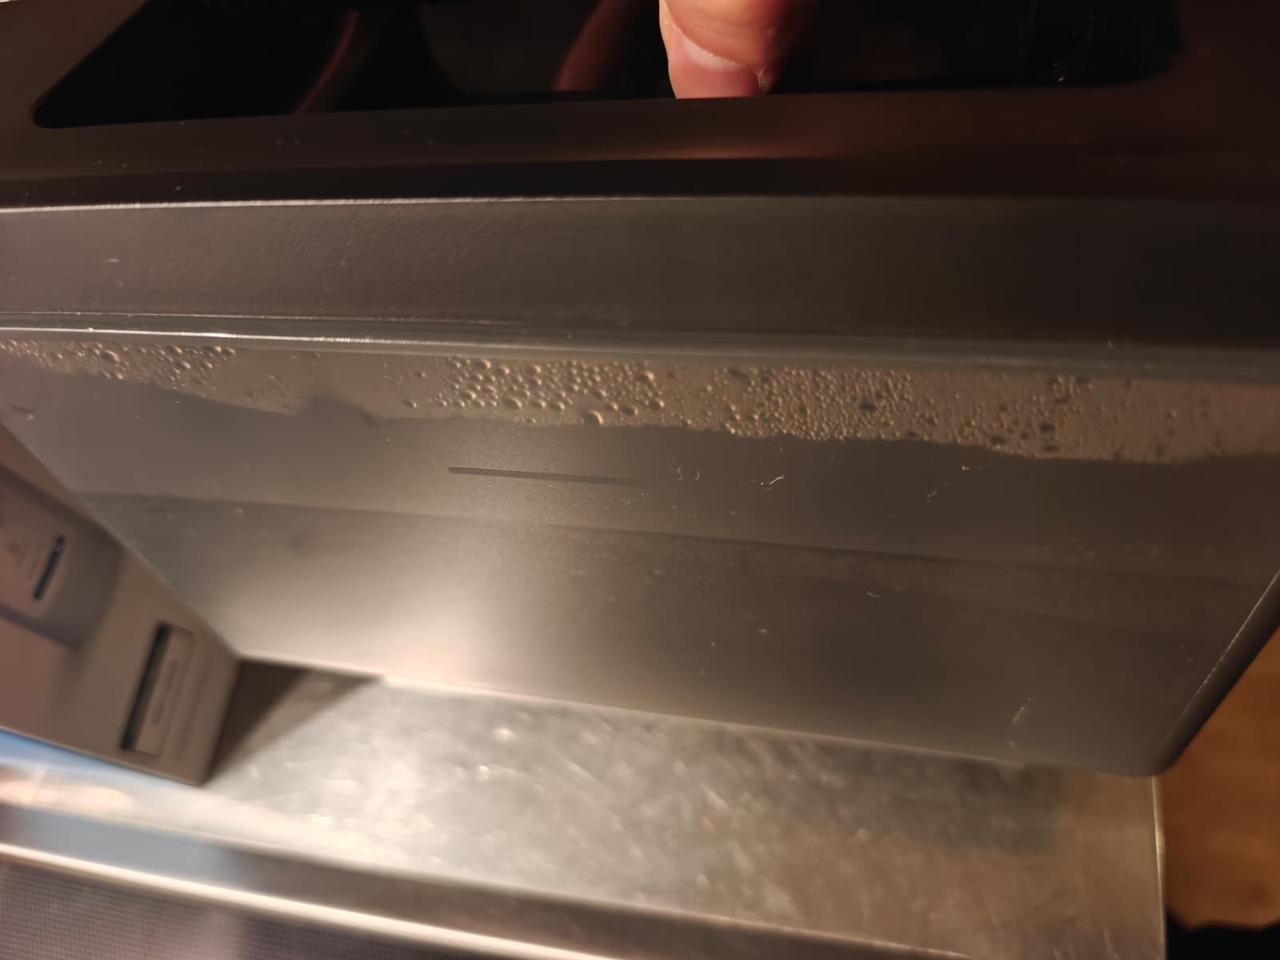
The container has a mark showing the maximum water level — it's hard to see, so I'll stick something there soon to make it more visible.
Please also pay attention to closing the container properly: check that it's firmly closed, otherwise the lid can pop up when you lift it.
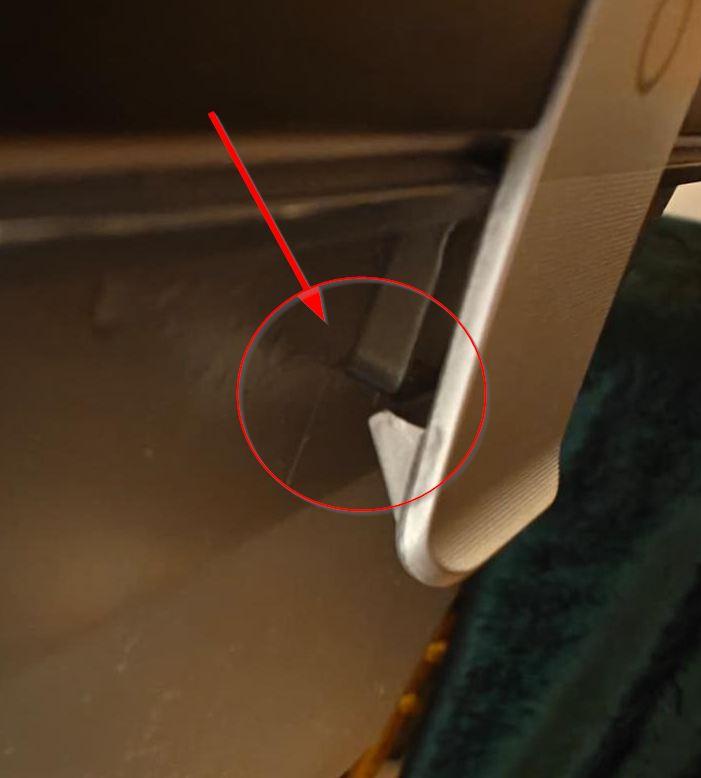
A badly closed container looks like this (the red circle marks the spot).
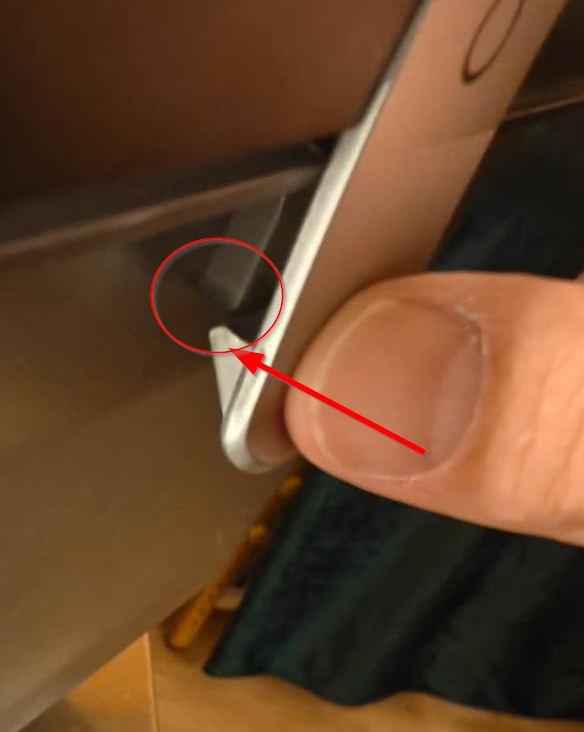
Just press the latch down firmly at that spot.
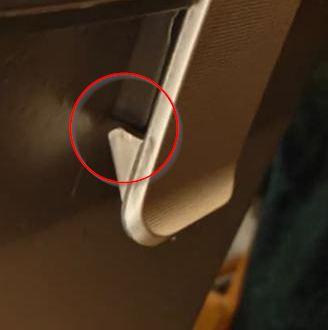
This is what it looks like once the lid is closed correctly.
From watching how much it uses, one double mopping cycle uses up about a third of the container, so it's worth checking the water level before starting a cleaning run. If there isn't much left, better to top it up (with the right amount of fluid, of course) before you start — we usually leave the room right after, so there's no chance to refill later.
While cleaning, the robot rinses its mop pads every so often — that comes with a fairly alarming noise, like in this video, but it's completely normal.
4. Cleaning
-
Start the robot in its default mode (vacuum + mop) by pressing the middle button.
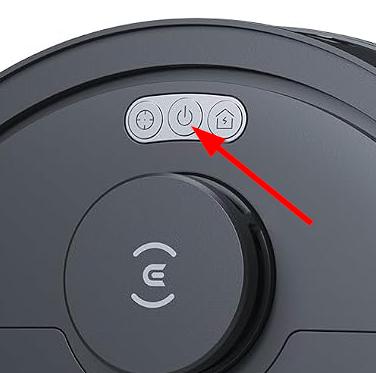
23 - The robot cleans the rooms in this order: bathroom first, then the massage room, then the kitchen annex last. It's best to start it while you're still around for a bit, so it can finish the bathroom first. Once it heads back to the base station to empty its bin and clean the mop pads, you can close the bathroom door — the robot will then have better conditions for cleaning the massage room (especially the mat by the door).
- A full cleaning run takes about 90 minutes. During that time, roughly every 15 minutes the robot returns to the station to empty its bin and clean the mop pads, then carries on cleaning.
- Once it's done cleaning, the robot washes the mop pads and then dries them for 3 hours — during which it also charges its batteries.
5. Controlling it with the app
As mentioned, you can simply start the robot with the middle button. If anyone wants more options, you can use the app instead — the robot and the app are already set up correctly. Anyone interested is welcome to get the details from me on how to install and configure it.
Since using the app requires the robot to be connected to a network, I set up a small access point with a dedicated SIM card right next to the robot. That let us configure a WiFi network just for our robot. This WiFi is special: it has a small amount of bandwidth, enough to control the robot, but it's not meant for anything else. I happened to have this access point and SIM card lying around at home, so I put them to use here.
6. Additional materials
You'll find plenty of videos showing how to handle the robot at this link.
There's also a short, preliminary manual available here to download (just the relevant excerpt — safety, troubleshooting and technical data): Manual (PDF, ~6 MB, German).